1. How to make sure your corn is fresh
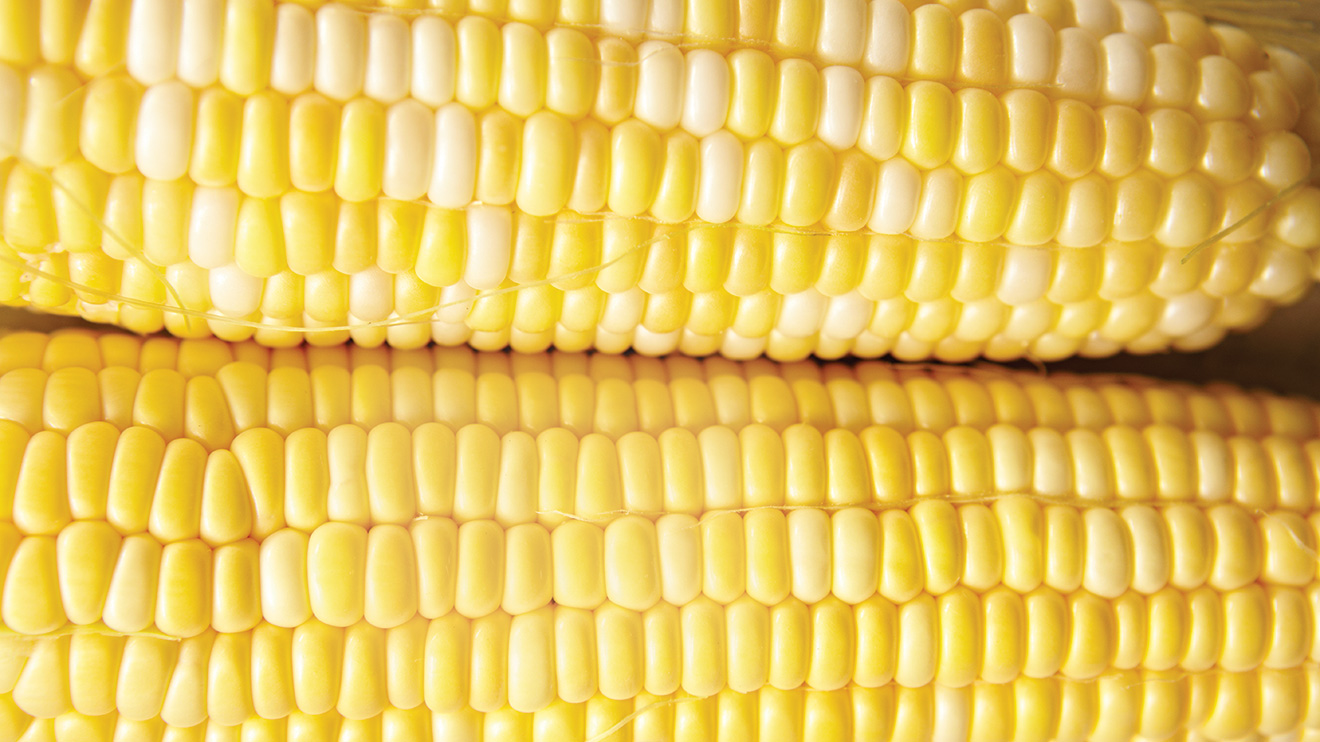
The silk–those soft threads attached to the cobs–under the husks should be blonde and silky. The silk at the tip isn't usually a good indicator, given that it’s almost always brown and dry, even in the field. The husks should be green and tightly wrapped. The kernels should feel plump and milky when pressed between your fingers.
2. Which corn is the sweetest?
Yellow, white or both, it’s hard to say which is the sweetest. Some varieties are naturally sweeter than others. While early-season corn hits the shelves first in July, late-season varieties that are harvested in August and September are usually sweeter.
There are now official designations for corn, beginning with Neuville corn. The PGI (Protected Geographical Designation) for Neuville sweet corn was created in 1997. It’s reserved for sweet corn grown and harvested in Neuville, and one of the rare Quebec foods to receive a protected designation.
3. Best cooking methods
There are several ways to cook corn:
Boiled: Drop the cobs in boiling water, wait for it to return to a boil and then count 5 minutes, no more. At that point, the corn will be at its peak. You can leave it in the water to keep warm, but it’ll continue to cook lightly. It’s best to remove it, as well as dip it in cold water, which will stop the cooking but will make the corn cold.
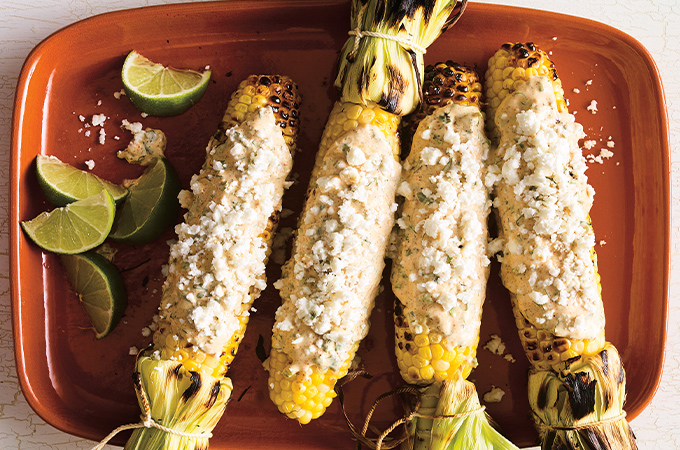
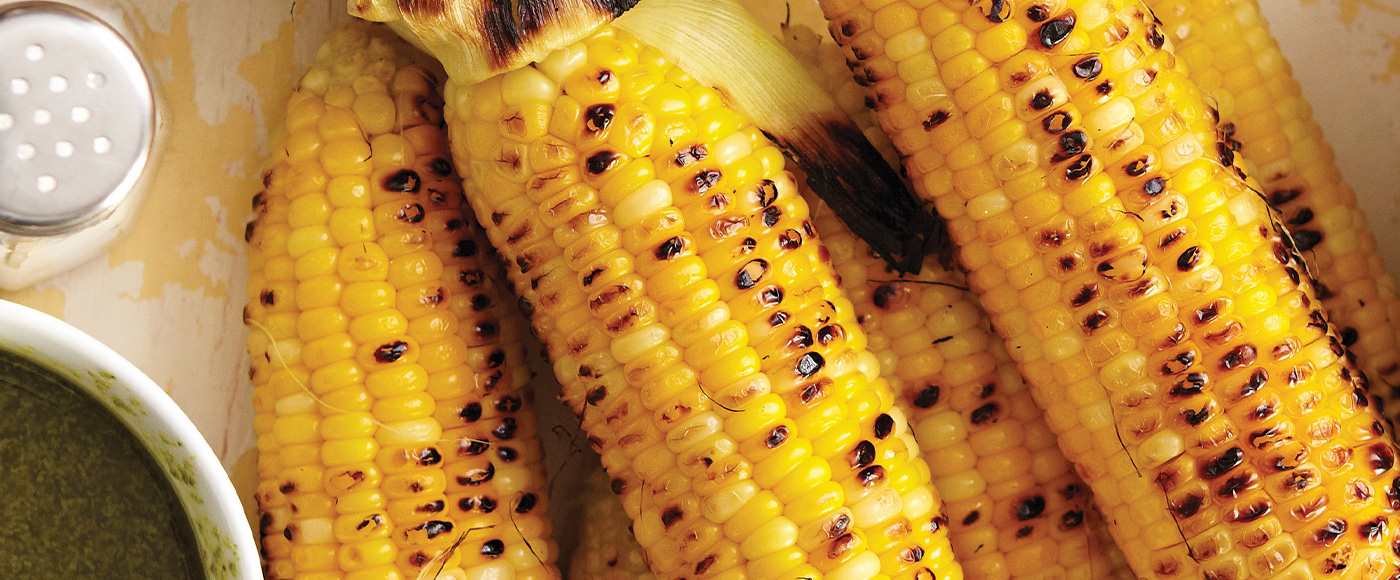
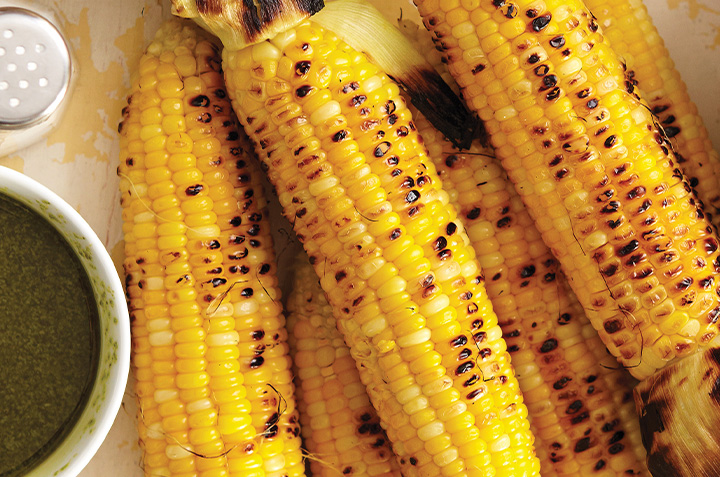
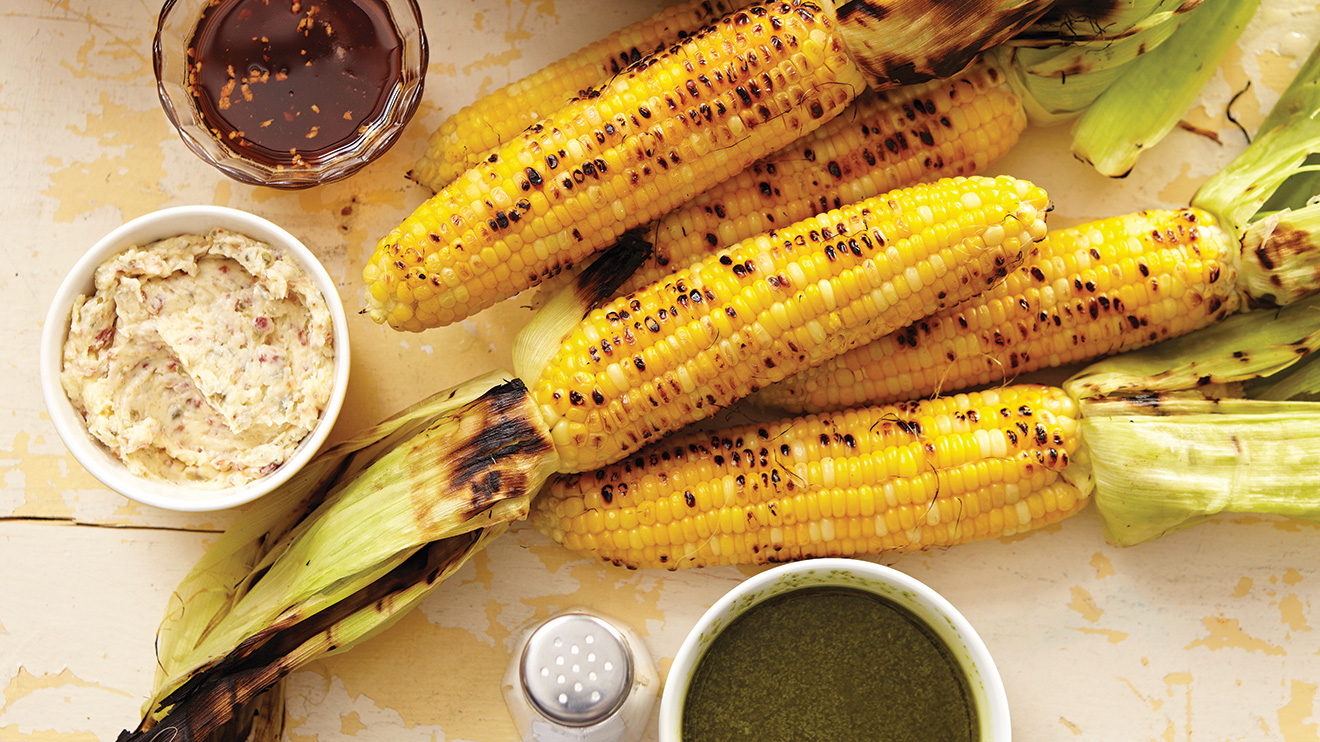
On the grill: This method allows the vegetable’s natural sugars to caramelize. Place it on a lightly oiled grill over medium heat. Cook until it’s nicely browned.
In the microwave: Remove the silk along with the first layer of husks. Place the cobs in the microwave, two at a time. Cook for 4 minutes on high. Once cooked, let rest for 5 minutes, remove the husks and enjoy.
In the oven: Remove the silk. Place the cobs with their husks untouched on a baking sheet, spacing them slightly (approximately 6 husks). Cook for 35 minutes at 375°F (190°C), turning them halfway through cooking. The lightly charred husks will give the corn a light smoky taste.
4. Enhancing the flavour
It’s a myth to believe that adding milk to the cooking water enhances the corn’s sweet flavour. There is no benefit to cooking corn in a half-water, half-milk mixture. The same goes for adding husk leaves to the cooking water, as it doesn’t add anything when it comes to taste. Not to mention that the outer husks may contain herbicides and pesticides.
5. Perfect storage
To ensure ideal preservation of corncobs, avoid keeping them at room temperature, because after 24 hours half of their sugar will turn into starch. To avoid this, it’s recommended to refrigerate them and consume them quickly. If you must wait a while before eating them, place them, unshucked, in a damp brown paper bag, then in a plastic bag, and store it in the refrigerator so they can stay crisp longer.
If you want to freeze corn, remove the kernels from the cooked cob using a corn stripper, then place them in an airtight container. This preserves their sweet taste, no matter the time of year.
Corn-husking parties as we know them today, synonymous with celebrations, appeared in the late 19th century. Previously, it was more associated with labour, specifically mechanical husking, notably in the case of canning corn.
Now that you know a bit more about corn, let these recipes inspire you to cook with it: