
Pizza
Skillet Pizza
The dough
1. Start this recipe off by making the dough. If you’d rather skip this step, you can buy a ball of pizza dough at the grocery store.
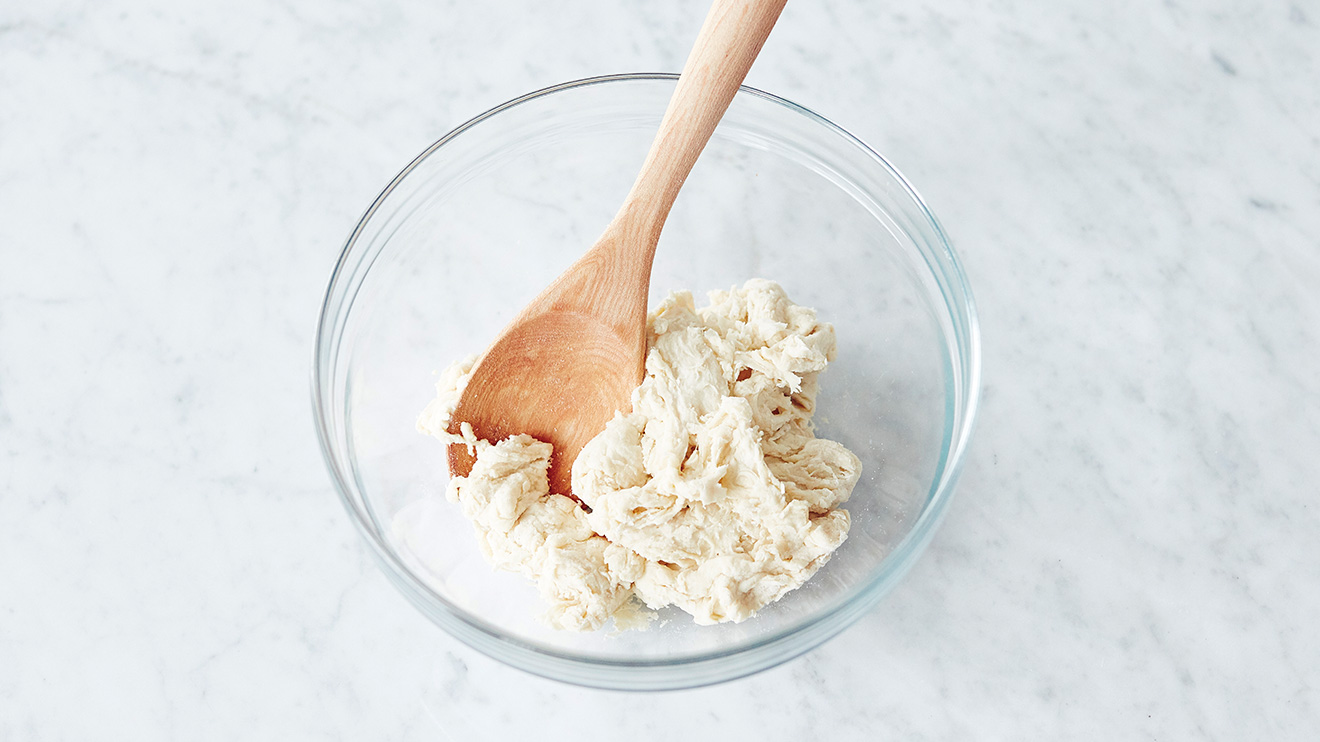
With the help of a wooden spoon, combine the flour, sugar, baking powder and salt in a large bowl. Add the water and mix until the dough begins to form.
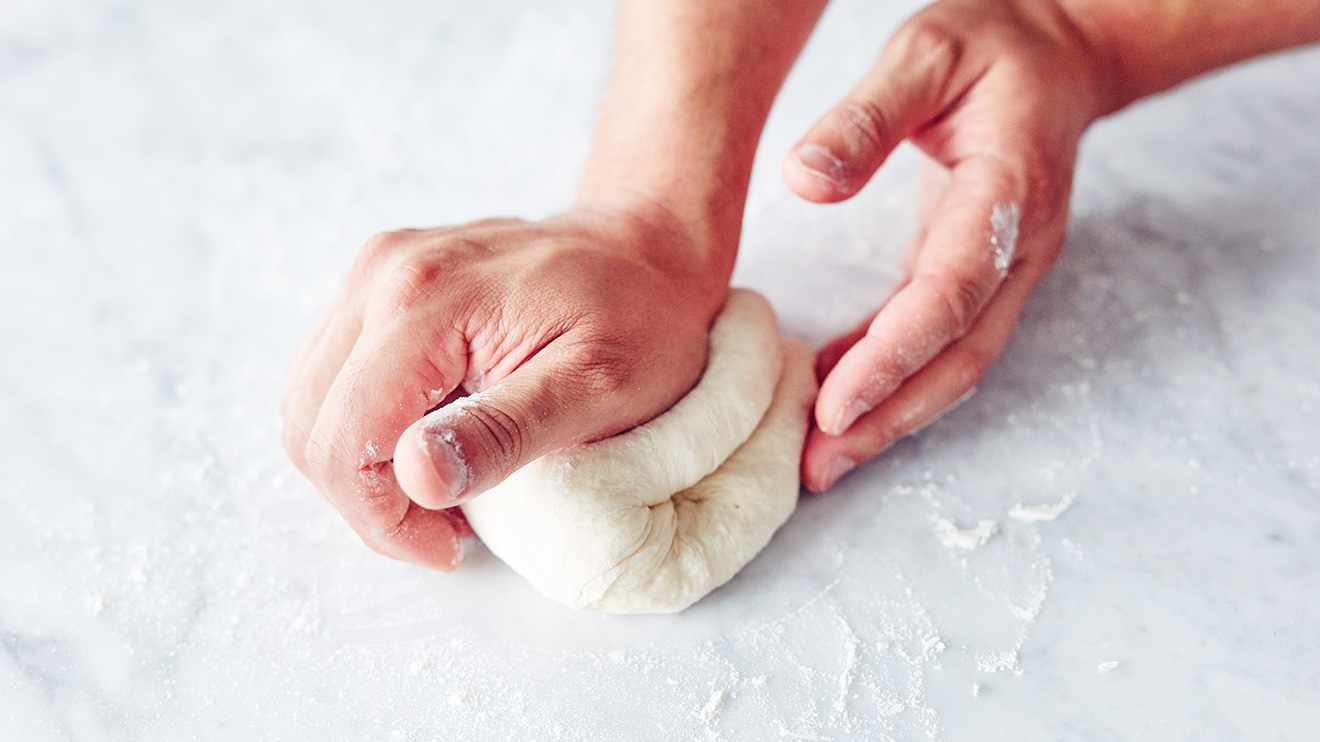
On a floured work surface, knead the dough for 5 minutes, or until it’s smooth. Pro tip: Knead the dough as if it were slime. It will be super elastic and easy to handle. Add a little more flour if the dough is too sticky.
2. Using a rolling pin, roll the dough into a circle 10 inches (25 cm) in diameter.
To stretch out the dough, the rolling technique is much easier than tossing it in the air with your hands. Because if you miss, you risk having it stick to the ceiling or fall back on your head. Oh, no!

3. Cover the bottom of a large skillet or an 11-inch (28 cm) round baking dish with half of the oil. Add the dough. With a pastry brush, cover the surface of the dough with the remaining oil.
Cover with plastic wrap and let rise in a warm, humid spot for 1 hour 30 minutes or until doubled in volume. Yes, it does it all by itself!

Instant yeast makes the dough rise as if by magic. Harry Potter, are you there?
The tomato sauce
4. While the dough rises, brown the garlic in the oil in a small saucepan over medium-high heat. Add the tomatoes. Season with salt and pepper. Cover and let it simmer for 15 minutes. Off heat, use a potato masher to crush the tomatoes until the sauce is smooth. Let cool.

To impress the grown-ups with your knowledge, specify that you want whole Italian tomatoes and not just diced (they make the sauce taste even better).
The toppings
5. With the rack in the middle position, preheat the oven to 400°F (200°C).
6. Using your fingers, press the centre of the dough down, leaving a puffed border all the way around.
There are two good reasons why you should dimple the dough:
1. The depressions help the dough spread out onto the bottom of the skillet.
2. It helps create a perfect edge for the crust.
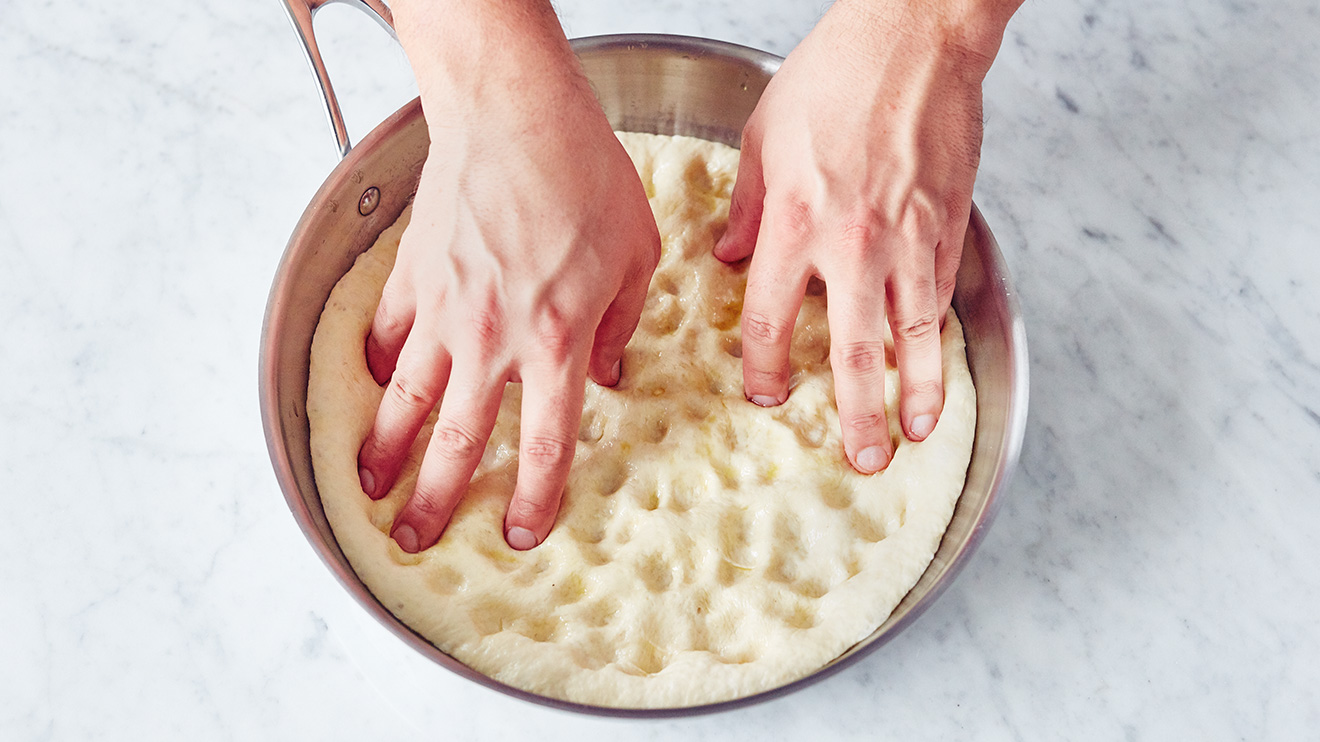
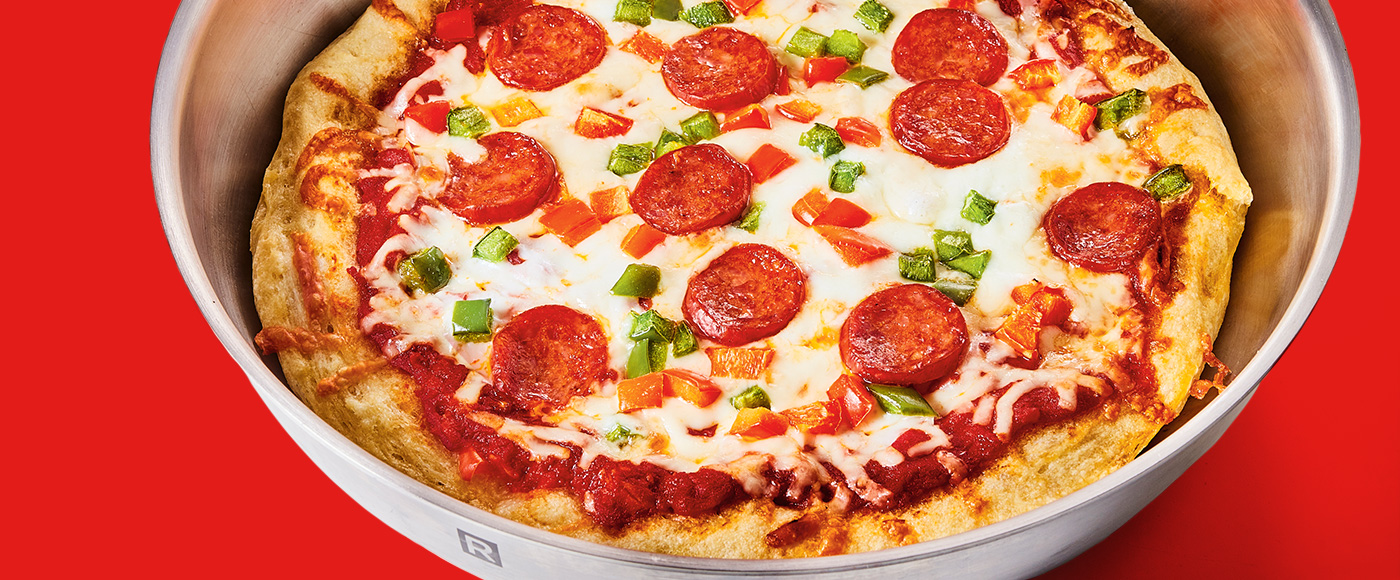
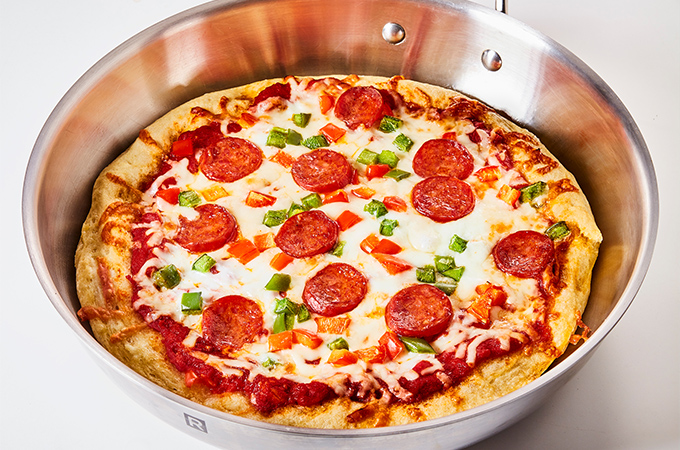
7. Spread the tomato sauce in the centre of the dough, being careful not to get any sauce on the puffed border. Top the sauce with half of the salami. Cover with the cheese, bell peppers and remaining salami. Ah yes, a third reason to dimple the dough; the depressions get filled with sauce. By adding slices of salami on top, it will be juicy and really tasty.

8. Bake for 20 minutes or until the crust is golden and the cheese has melted.
9. Put on your oven mitts before grabbing the handle of the skillet. Unmould the pizza by sliding it onto a cutting board. Cut into triangle-shaped slices.
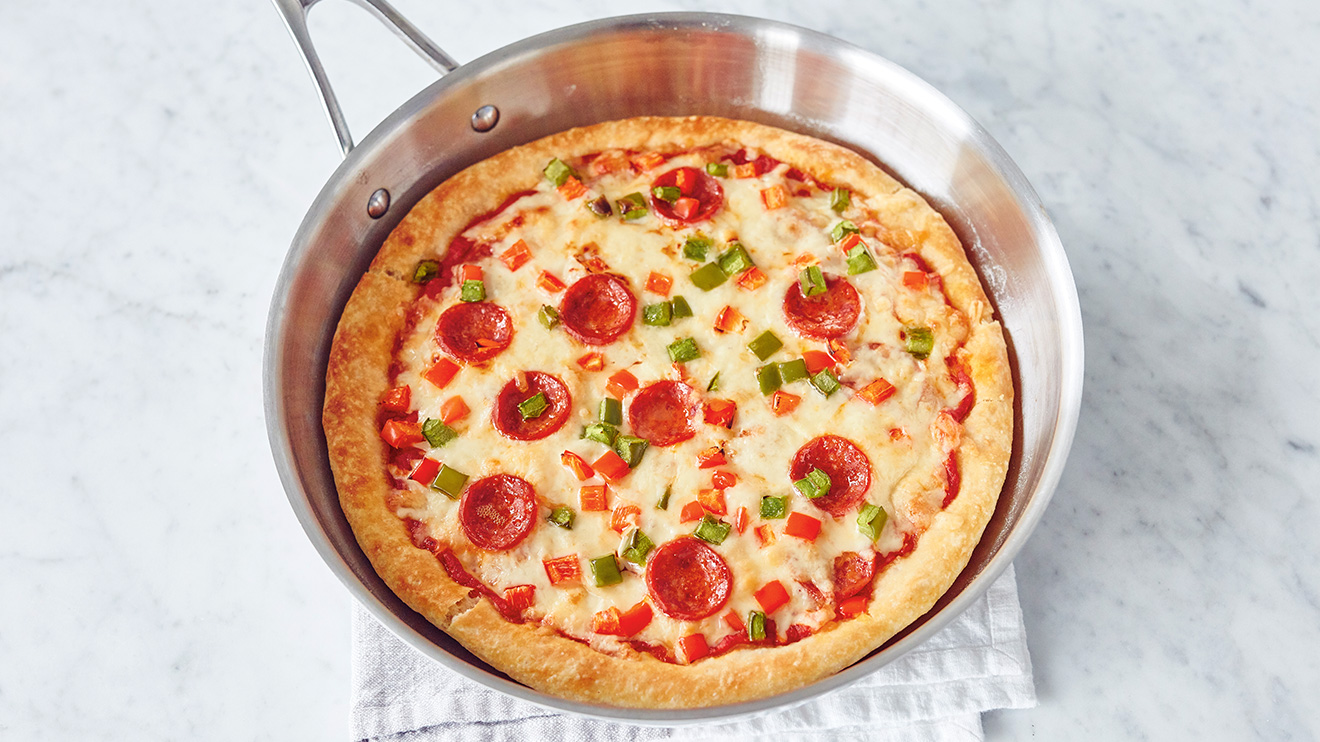
Your parents and friends will look at your pizza…and will surely want to get a slice of the action!
Want to try a few other step-by-step recipes? Check out our guide to making a beef burrito bowl, a vegetarian “BLT” sandwich and irresistible brookies.